 EZVIZ no longer supports Internet Explorer 10 or earlier versions, and the site may not behave as expected. Please upgrade to a newer browser.


 Store
Store

 FAQ
FAQ
 Tutorial Video
 Manuals
 Datasheet

 FAQ
FAQ
 Tutorial Video
 Manuals
 Datasheet
If you encounter difficulties when trying to initialize the SD card via the EZVIZ APP, below are some troubleshooting steps to resolve the issue for you:
1. Ensure both the firmware of your camera and EZVIZ APP are running on the latest version.
2. Ensure the SD card is class 10 or rated at UHS-1. The file format of the SD card should be FAT32 for capacities below 64GB and exFAT for capacities of 64GB and above. Click "Here" to view partial test results of SD card compatibility.
3. Power off your camera, remove and reinsert the SD card, power the camera on and then initialize the card again on the EZVIZ APP.
4. To further rule out the SD card issue, you may try to test with a different SD card or install the card in question on another EZVIZ device.
5. Try to factory reset your camera by holding the Reset button. This will turn the device to the default factory settings and might help resolve minor issues.
If the issue remains unresolved, please contact the "EZVIZ support team" for further assistance.
1. Please check the status of the indicator light first:
- If it is solid blue or flashing blue slowly, please refresh the home page on the EZVIZ APP to check whether the camera becomes online or not.
- If the indicator light is flashing red slowly, you can try the following two methods:
1) Please reboot your router as it may be experiencing connectivity and range issues.
2) Unplug your camera, wait for 10-30 seconds, then plug it back in to see if this solves the offline problem.
2. If the camera is still offline, you can try to reconfigure it by following the steps below:
- Connect your smartphone to your 2.4GHz home Wi-Fi network if your camera supports 2.4GHz only.
- Open your EZVIZ APP, tap the three-dot icon to enter the Device Settings page and tap the Wi-Fi button.
- Reset the device by pressing the reset button for a few seconds.
- Wait for a while, make sure the indicator light turns to flash blue quickly and tap Next.
- Check that your WIFI and password are correct. Then tap Next to connect to device AP.
- Please wait for the device to be configured and your device should be back online.
If you see "Unable to join network EZVIZ_SN" (the SN of your EZVIZ camera) or if you cannot connect to the Device AP during network configuration, we suggest you reset your camera by pressing the reset button for 4-5 seconds and restart the setup procedure.
Before doing so, please make sure that
1. Make sure that you have turned off the cellular data on your phone.
2. Make sure your device is in configuration mode. You can easily tell if the camera is ready by checking if the indicator light flashes blue quickly.
3. When configuring the network, make sure that your EZVIZ device is close to your Wi-Fi router. We recommend that you keep the distance less than 1.5 meters.
If the problem persists, please try the following method:
1. Please check if you can find a Wi-Fi starting with EZVIZ_XXXXXX (the SN of your EZVIZ camera) in the Wi-Fi list of your phone;
2. If yes, please check if you can connect it manually. The password for the device Wi-Fi should be "EZVIZ_verification code" (a 6-digit capital letter code that you can find on the device label). If you're having trouble locating the device verification code, please refer to: Where to find the EZVIZ device verification code?
3. After the connection, go back to the EZVIZ app to complete the network configuration.
If the issue remains unresolved, please contact the “EZVIZ support team” for further assistance.
If your EZVIZ cameras support turning off the IR light on the EZVIZ APP, please follow the steps below:
1. Login to your EZVIZ account.
2. On the Home page, click the 3-dot icon next to your camera's name to access the Device Settings page.
3. Locate the IR Light button and uncheck it. Alternatively, scroll down to find Image Settings, select Day Mode and the IR light would be turned off.
(* The interface of the application may be different depending on the version update and device model).
All CloudPlay videos support quickplay at 1X, 4X, 8X, 16X and 32X speed.
However, if you use a Micro SD card as the storage medium, please note that only some EZVIZ cameras support quickplay on MicroSD card video in 1X, 4X, 8X, and 16X speed. If your device does not support this feature, you can connect your camera and mobile phone under the same router, then on the EZVIZ APP, go to LAN Live View>Tap Start Scanning>View video by Fast Play. For more detailed information, please contact the EZVIZ support team at support@ezviz.com.
Please follow the steps below:
1. Log in to your EZVIZ account.
2. On the Home page, click the 3-dot icon next to the name of your camera to enter the Device Settings page.
3. Tap on the device serial number to edit it, and then tap on the top right to save the settings.
4. Or, for some other models, tap the Name tab to edit the device name, then tap anywhere else to finish editing and save the settings.
If your camera goes offline frequently, below are some troubleshooting steps to resolve the issue for you:
Step 1: Ensure both the firmware and EZVIZ app are running on the latest version.
Step 2: Ensure that your Wi-Fi network signal is good. You can check the signal by connecting your phone to the same WiFi your camera connects to, entering More page > Settings > Device Network Tools > Check WiFi signal.
Step 3: If not good, you can try to move the camera closer to your router, avoid obstacles and interference such as wall, elevator, microwave, washing machines, and Bluetooth devices.
Step 4: If your WiFi router has an adjustable antenna, try pointing it in various directions.
Step 5: Try to change the Wi-Fi channel to a less crowded one.
Step 6: If possible, disconnect some devices you seldom use from your router.
Step 7: If your camera supports Ethernet cable, you can also try to connect it using a cable.
Step 8: If you have two EZVIZ devices and the other one is working fine, you can also try to switch the locations to further determine the issue.
About 1000 cameras can be added to one account.
To connect to a different Wi-Fi network, please follow the steps below:
1. Press and hold the RESET button on your camera for about 5-10 seconds to reset it. This will allow you to start the process of reconnecting the device to the Wi-Fi.
2. Make sure your EZVIZ device is in Wi-Fi configuration mode.
3. Open the EZVIZ mobile app on your smartphone.
4. From the Home page of the app, tap the 3-dot icon next to the name of your camera to enter the Device Settings page.
5. Tap the "Wi-Fi" or "Network Settings>Wi-Fi".
6. Follow the prompts and instructions in the EZVIZ mobile app to complete the setup and connect your device to the new Wi-Fi network.
If you have already installed an SD card in your camera, but the status on the EZVIZ APP shows "No memory card" or "Please insert an SD card", below are some troubleshooting steps to resolve the issue for you:
Step 1: Ensure both the firmware of your camera and the EZVIZ APP are running on the latest version.
Step 2: Ensure the SD card is class 10 or rated at UHS-1. The file format of the SD card should be FAT32 for capacities below 64GB and exFAT for capacities of 64GB and above.
We do recommend you check the compatible list on our website.
Step 3: Power off your camera, remove and reinsert the SD card, power the camera on, and then initialize the card again on the EZVIZ APP if the SD card can be recognized. Meanwhile, please make sure that the card has been installed correctly and is not defective or damaged.
*Before initialization, do remember to backup important files by saving or exporting them if necessary.
Step 4: If not working, try to factory reset your camera by holding the Reset button. This will turn the device to the default factory settings and might help resolve minor issues.
Step 5: To further rule out the SD card issue, you may try to test with a different SD card or install the card in question on another EZVIZ device.
For our 1080p EZVIZ security camera, we estimate that a 16GB MicroSD card will provide approximately 28–32 days of recording under normal use, which is about a total of 1 hour of motion event recordings. Recording time for 720p cameras will be longer.


How to set my EZVIZ cameras to record all day
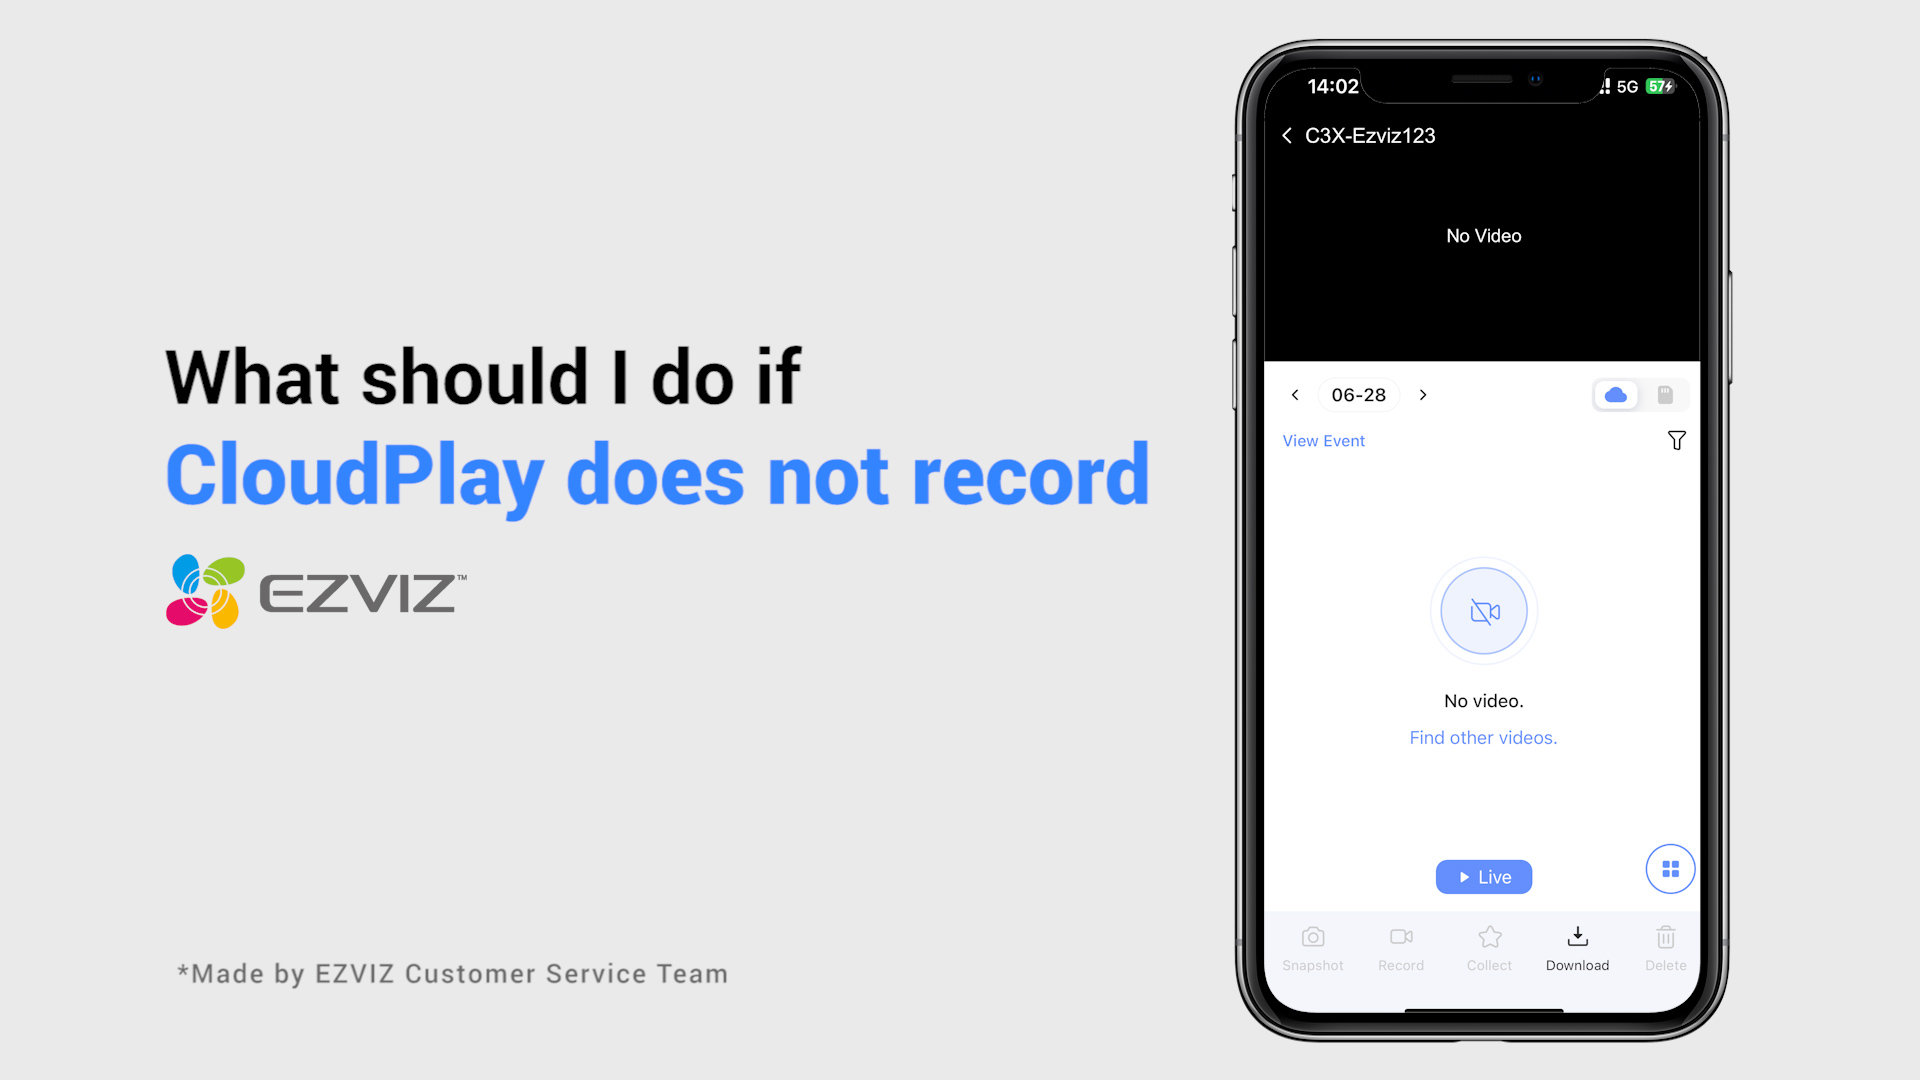
What should I do if CloudPlay does not record

How to share devices

What should I do if I am unable to log in on EZVIZ APP

How to set up a device (first time)

