 FAQ
FAQ
 Tutorial Video
 Manuals
 Datasheet
1. Please check the status of the indicator light first:
- If it is solid blue or flashing blue slowly, please refresh the home page on the EZVIZ APP to check whether the camera becomes online or not.
- If the indicator light is flashing red slowly, you can try the following two methods:
1) Please reboot your router as it may be experiencing connectivity and range issues.
2) Unplug your camera, wait for 10-30 seconds, then plug it back in to see if this solves the offline problem.
2. If the camera is still offline, you can try to reconfigure it by following the steps below:
- Connect your smartphone to your 2.4GHz home Wi-Fi network if your camera supports 2.4GHz only.
- Open your EZVIZ APP, tap the three-dot icon to enter the Device Settings page and tap the Wi-Fi button.
- Reset the device by pressing the reset button for a few seconds.
- Wait for a while, make sure the indicator light turns to flash blue quickly and tap Next.
- Check that your WIFI and password are correct. Then tap Next to connect to device AP.
- Please wait for the device to be configured and your device should be back online.
If you see "Unable to join network EZVIZ_SN" (the SN of your EZVIZ camera) or if you cannot connect to the Device AP during network configuration, we suggest you reset your camera by pressing the reset button for 4-5 seconds and restart the setup procedure.
Before doing so, please make sure that
1. Make sure that you have turned off the cellular data on your phone.
2. Make sure your device is in configuration mode. You can easily tell if the camera is ready by checking if the indicator light flashes blue quickly.
3. When configuring the network, make sure that your EZVIZ device is close to your Wi-Fi router. We recommend that you keep the distance less than 1.5 meters.
If the problem persists, please try the following method:
1. Please check if you can find a Wi-Fi starting with EZVIZ_XXXXXX (the SN of your EZVIZ camera) in the Wi-Fi list of your phone;
2. If yes, please check if you can connect it manually. The password for the device Wi-Fi should be "EZVIZ_verification code" (a 6-digit capital letter code that you can find on the device label). If you're having trouble locating the device verification code, please refer to: Where to find the EZVIZ device verification code?
3. After the connection, go back to the EZVIZ app to complete the network configuration.
If the issue remains unresolved, please contact the “EZVIZ support team” for further assistance.
Please follow the steps below:
1. Log in your EZVIZ account, tap the "Account button” in the lower right corner of the Home page.
2. Enter "My Profile” by clicking the profile picture.
3. Tap "Login Settings”.
4. Then tap "Delete Account”.
5. Please read the Notice carefully before you confirm to Delete My Account.
*Please make sure that all the devices under this account have been removed before you delete your account.
If you have further concerns, please contact the "EZVIZ support team" for further assistance.
If you see the "Incorrect device Wi-Fi password" prompt when you connect to the device Wi-Fi during network setup, please follow these steps to see if they help:
1. go to your phone settings and find Wi-Fi settings.
2. locate the device Wi-Fi which is named EZVIZ_SN (the SN of your camera, for example, EZVIZ_D12345678).
3. forget or delete the device Wi-Fi from your Wi-iFi list and then reconnect it by manually inputting the password, which is EZVIZ_verification code (for example, if the 6 capital letters verification code on the device label is ABCDEF, the password should be EZVIZ_ABCDEF).
4. after connection, go back to the EZVIZ app to retry.
Regarding the issue you are facing, if you mean during the configuration process, the camera made voice prompts like “incorrect password” or "incorrect wi-fi password", please note that this prompt normally suggests the router Wi-Fi password you input is incorrect.
Thus, please double-check and ensure the router password you input is completely correct. Also, be reminded that the password is case-sensitive.
However, if the above is confirmed but the issue persists, you may try to further troubleshoot by changing the password to a simpler one (less than 64 digits) and excluding any special characters.
Please follow the steps below:
Step 1: From the Library Page, tap the second icon in the upper right corner to enter the Library Settings page.
Step 2: Tap Push Notification Settings.
Step 3: Tap Email Alerts.
Step 4: Select the devices you would like to receive notifications for and tap Save.
Note: If your account is not linked to an email address, please link an email address first. then select the devices for which you would like to receive notifications and tap Save, the linked email address would be able to receive the notifications.
If you want to use LAN Live View, you can enter it in the following two ways:
If your phone network is on the same local network as your camera
1 Log in to your EZVIZ account, and tap the profile icon on the top left corner.
2 Tap Settings
3 Scroll down to find LAN Live View
4 Alternatively, if you are unable to log in to your EZVIZ account, you can also access LAN Live View by tapping the play icon on the top right of the login page.
5 Make sure your camera and phone are on the same LAN, then tap Start Scanning.
6 Enter the device verification code as the password (usually located on the white sticker of your camera) and the username is admin by default, and you will be able to view your camera.
If you do not have a network
1 Log in to your EZVIZ account, and tap the profile icon on the upper left corner.
2 Tap Settings
3 Scroll down to find LAN Live View
4 Alternatively, if you are unable to log in to your EZVIZ account, you can also access to LAN Live View by tapping the play icon on the top right of the login page.
5 Reset the camera by pressing the reset button for 4-5 seconds and when the indicator light starts flashing blue quickly, go to the Wi-Fi settings page on your smartphone, connect your phone to the device Wi-Fi named "EZVIZ_SN", and enter the password "EZVIZ_verification code" (the verification code is usually located on the white sticker of your camera), then go back to the EZVIZ app and tap Start Scanning.
6 Enter the device verification code as the password and the username is admin by default, and you will be able to view your camera.
If your camera goes offline frequently, below are some troubleshooting steps to resolve the issue for you:
Step 1: Ensure both the firmware and EZVIZ app are running on the latest version.
Step 2: Ensure that your Wi-Fi network signal is good. You can check the signal by connecting your phone to the same WiFi your camera connects to, entering More page > Settings > Device Network Tools > Check WiFi signal.
Step 3: If not good, you can try to move the camera closer to your router, avoid obstacles and interference such as wall, elevator, microwave, washing machines, and Bluetooth devices.
Step 4: If your WiFi router has an adjustable antenna, try pointing it in various directions.
Step 5: Try to change the Wi-Fi channel to a less crowded one.
Step 6: If possible, disconnect some devices you seldom use from your router.
Step 7: If your camera supports Ethernet cable, you can also try to connect it using a cable.
Step 8: If you have two EZVIZ devices and the other one is working fine, you can also try to switch the locations to further determine the issue.
Please follow the steps below:
1. Log in to your EZVIZ account, tap the profile icon on the top left
2. Enter My Profile by clicking the profile picture
3. Tap the email or phone number you would like to change(input the code sent to your current email or phone number account if needed)
4. Follow the prompt to input the new email or phone number
5. Then input the code sent to the new email or phone number and the account will be updated
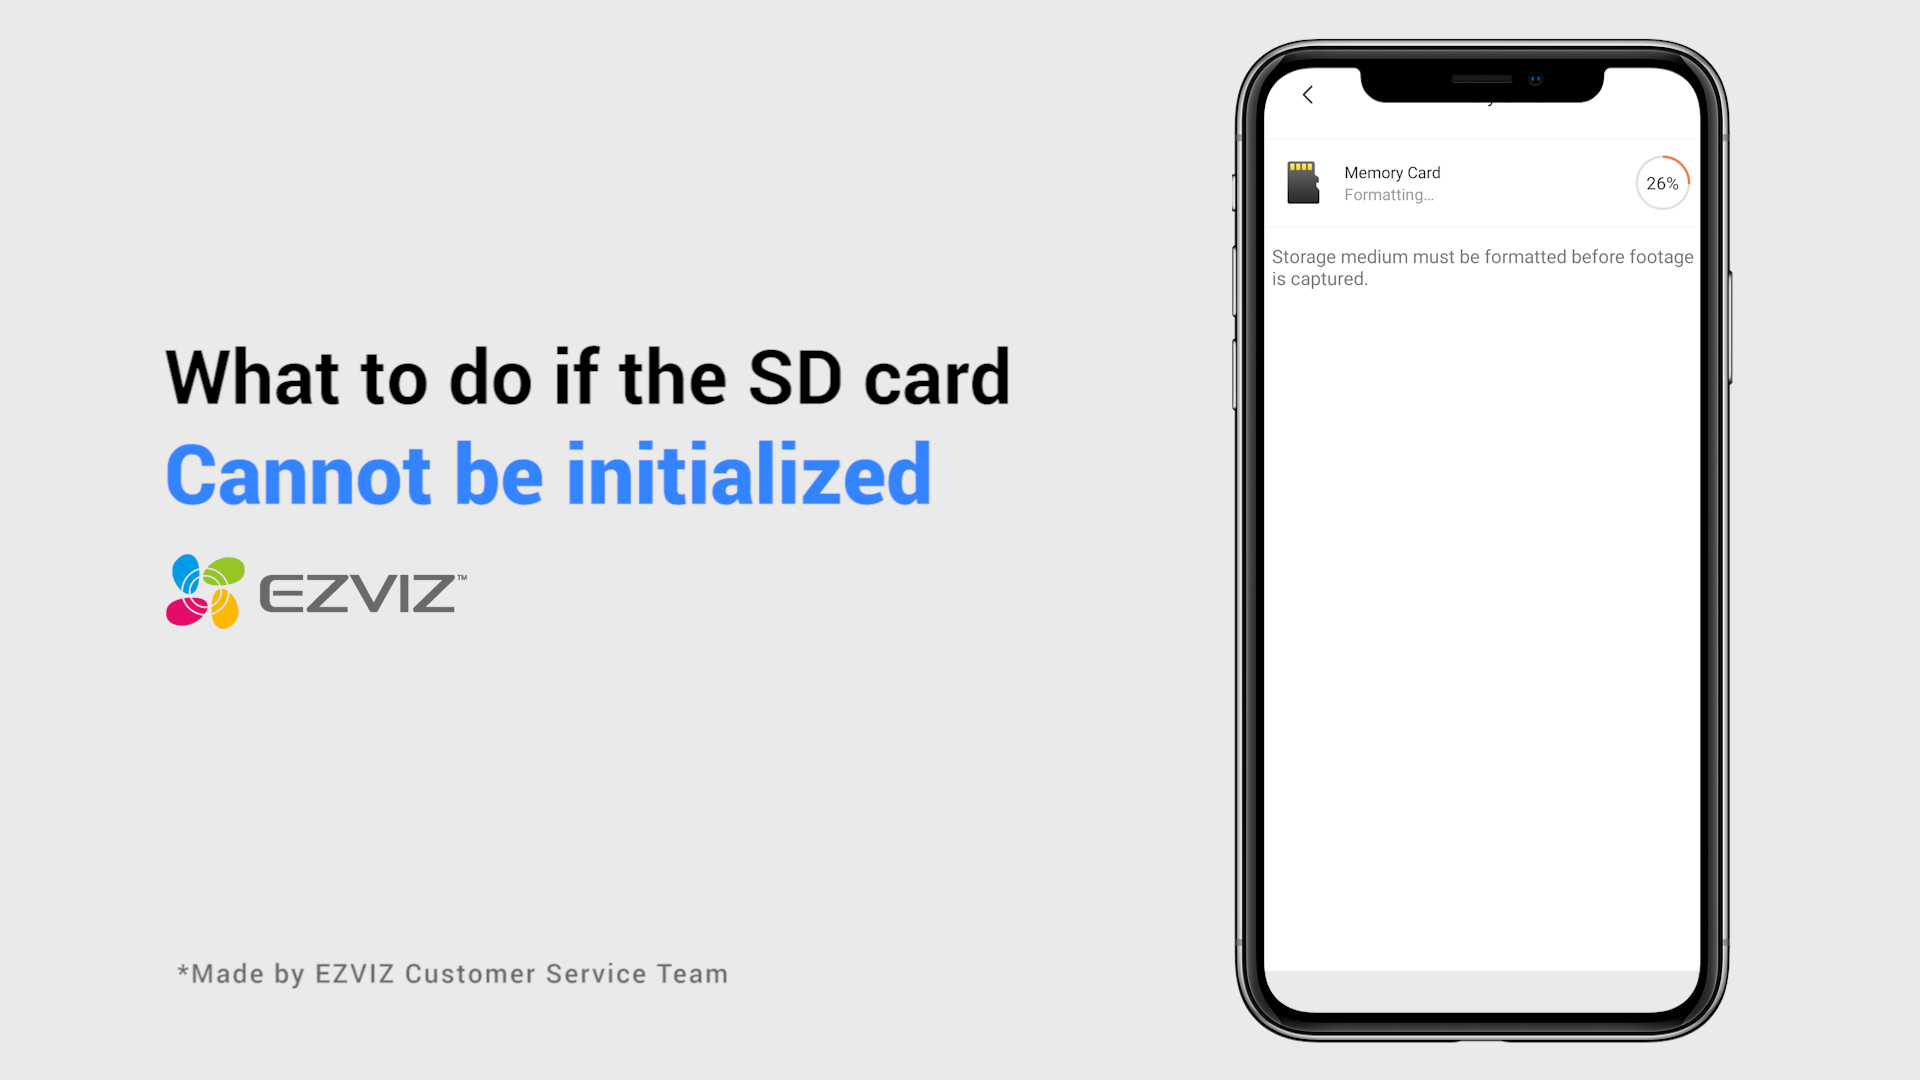
If you have already installed an SD card in your camera, but the status on the EZVIZ APP shows "No memory card" or "Please insert an SD card", below are some troubleshooting steps to resolve the issue for you:
Step 1: Ensure both the firmware of your camera and the EZVIZ APP are running on the latest version.
Step 2: Ensure the SD card is class 10 or rated at UHS-1. The file format of the SD card should be FAT32 for capacities below 64GB and exFAT for capacities of 64GB and above.
We do recommend you check the compatible list on our website.
Step 3: Power off your camera, remove and reinsert the SD card, power the camera on, and then initialize the card again on the EZVIZ APP if the SD card can be recognized. Meanwhile, please make sure that the card has been installed correctly and is not defective or damaged.
*Before initialization, do remember to backup important files by saving or exporting them if necessary.
Step 4: If not working, try to factory reset your camera by holding the Reset button. This will turn the device to the default factory settings and might help resolve minor issues.
Step 5: To further rule out the SD card issue, you may try to test with a different SD card or install the card in question on another EZVIZ device.


 Store
Store

 FAQ
FAQ
 Tutorial Video
 Manuals
 Datasheet


