 EZVIZ no longer supports Internet Explorer 10 or earlier versions, and the site may not behave as expected. Please upgrade to a newer browser.


 Store
Store

 FAQ
FAQ
 Tutorial Video
 Manuals
 Datasheet

 FAQ
FAQ
 Tutorial Video
 Manuals
 Datasheet
1. Download the EZVIZ APP to your mobile phone from the App Store (for iOS), Google Play (for Android), or HUAWEI APP Gallery (for HUAWEI).
2. Register an EZVIZ account with your email or phone number and log in.
3. Reset your camera by pressing the reset button for about 10-15 seconds, for some cameras you will hear the voice of "Reset successfully". Then wait for about 1 minute or a few seconds, when you see the indicator light change into red-blue flashing alternately or blue light flashing fast (for some cameras, there is no light change for your reference, that's ok, you just wait for about 1 minute).
4. Connect your phone to 2.4G wifi only, then tap the "+" button on the home page to scan the QR code that is on the label of the device. You can find a label on the back or bottom of the device. (Please make sure your phone is connected to 2.4G wifi only and you give the camera permission to the EZVIZ app)
5. Then follow the instructions on the APP to connect the device to your wifi.
6. After adding the device to your account, you will be able to view your cameras.
*Related Articles:
What should I do if I have lost my EZVIZ device verification code
What should I do when the Wi-Fi connection fails during device pairing?
To reset the EZVIZ cameras, locate the reset button on the camera and hold it for about 4-5 seconds, then wait for a prompt indicating that the device has been reset successfully. Some cameras may not provide this prompt; in such cases, wait for 1-2 minutes for the indicator lights to flash blue or alternate between red and blue. Generally, the reset process takes about 1-2 minutes, after which the camera will revert to its default settings.
For Wi-Fi cameras, the reset button is typically located on the back of the device. For some indoor PT cameras, you may need to rotate the lens to the top to find the reset button, or it may be hidden under the cover of the SD card slot. For certain outdoor devices, look for the cover labeled "Micro SD" or “Micro SD/Reset” and upon opening it, you will find a small reset button.
1. Please check the status of the indicator light first:
- If it is solid blue or flashing blue slowly, please refresh the home page on the EZVIZ APP to check whether the camera becomes online or not.
- If the indicator light is flashing red slowly, you can try the following two methods:
1) Please reboot your router as it may be experiencing connectivity and range issues.
2) Unplug your camera, wait for 10-30 seconds, then plug it back in to see if this solves the offline problem.
2. If the camera is still offline, you can try to reconfigure it by following the steps below:
- Connect your smartphone to your 2.4GHz home Wi-Fi network if your camera supports 2.4GHz only.
- Open your EZVIZ APP, tap the three-dot icon to enter the Device Settings page and tap the Wi-Fi button.
- Reset the device by pressing the reset button for a few seconds.
- Wait for a while, make sure the indicator light turns to flash blue quickly and tap Next.
- Check that your WIFI and password are correct. Then tap Next to connect to device AP.
- Please wait for the device to be configured and your device should be back online.
If you can check alarm notifications on the Event page of the EZVIZ APP but cannot receive push notifications in the background, we recommend using the "Push Self-Check" feature in the EZVIZ APP to assess the situation. To locate it, please open the EZVIZ app, tap "Library" or "Event" at the bottom, access the Settings in the top right corner of the "Library" or "Event" page, select "Push Notification Settings," and choose "Push Self-Check."
Alternatively, below are some detailed troubleshooting steps to resolve the issue for you:
1. Please disable and re-enable the Alarm Notification feature in the EZVIZ APP.
You can enter the Device Settings page > Alarm Notification or the Device Settings page > Notification > (App-side) Receive Device Message > EZVIZ App Notification to do so.
2. Delete any notification schedules you have set before and also make sure that the Notification Schedule button is off.
On the Alarm Notification page, you can tap "Set Notification Schedule” and delete your schedules, then disable the Notification Schedule button. Alternatively, on the Notification page, tap Notification Schedule, enter Customized schedule and clear all the time periods you have set, then go back to select the All time option.
3. Make sure that the "Do Not Disturb" button is turned off on the Event page in the EZVIZ app.
4. If you are still unable to receive push notifications, please check that the push notification permissions for the EZVIZ app are enabled on your mobile device as below:
1) For IOS mobile devices, enter the Settings page of your phone > EZVIZ APP > Notifications > Allow Notifications.
2) For Android mobile devices, enter the Settings page of your phone > APPs > EZVIZ APP. Enable "Appear on top" first, then enter "Notifications" and enable "Show notifications". After that, if you still have other categories, click on all the options in turn, and make sure that the "Show notifications", "Show as pop-up” and "Ignore Do not disturb” features are enabled under each option.
5. There are a few other settings on your phone that you will need to pay attention to as well:
1) Make sure that the EZVIZ app is not blocked if you have anti-virus software stalled on your mobile phone.
2) For IOS mobile devices (above 15), make sure your device is not in Do Not Disturb or Focus mode.
3) For Android devices, make sure that battery optimization for the EZVIZ app is turned off in your phone settings. You may check this by going to phone Settings> Device maintenance > BATTERY > BATTERY Usage > Optimize battery usage > Apps not optimized > All app > turning off EZVIZ switch.
*(Please note that the interface of your phone settings may vary depending on the phone model and version. You may also click here to check the video instructions for reference.)
Please note that sharing can be done in two different ways:
1. Using the Same Login Credentials: You can view the same device using the same login credentials. This means that if you provide your friend or family member with your email address or phone number associated with your EZVIZ account, along with the password, they can access the same device on that account simultaneously.
2. Sharing Your Device with Friends: This method allows you to grant friends and family the privilege to view your device without them owning it. You can achieve this using the EZVIZ App by following these steps:
- Step 1: Log in to your EZVIZ account, and tap the "Account" button in the lower right corner of the Home page.
- Step 2: Tap "Family & Guests".
- Step 3: Tap "Add Sharing".
- Step 4: Enter the email address or phone number registered with the EZVIZ account that you would like to share with, ensuring that the region of the guest account is the same as the owner account, then tap "Continue".
- Step 5: Select the devices you wish to share, and you can edit the permissions by tapping on the device. (Note: Please remember to select "Authorize encryption password” at the bottom; otherwise, the shared account may request the encryption password to view the device.)
- Step 6: Tap "Add sharing" at the bottom. When sharing devices with others, consent is required first. Therefore, toggle the two agreements of "EZVIZ family sharing service" and "EZVIZ service agreement" on the left side and tap "Agree" to proceed further.
Once the guest account accepts the invitation, the devices will be successfully shared. If the issue remains unresolved, please contact the "EZVIZ support team" for further assistance.
*Please note that sharing functionality is not supported on all EZVIZ devices. If your device does not appear in the sharing list during the sharing process, it indicates that it cannot be shared.
Step 1: On the login page, input the correct account and tap Forgot password? button
Step 2: Tap Send to continue
Step 3: Input the verification code in the image or drag the slider to complete the puzzle to verify your account and then a 4-digit code (OTP) would be sent to your registered email address or phone number
Step 4: Input the 4-digit code you receive
Step 5: Create your new password and tap Save to complete the process
1. Make sure your camera is online and it has a stable and strong internet connection. Poor or intermittent connectivity can prevent recordings from being uploaded to the cloud and we do suggest an average upload speed of 2 Mbps or better.
2. Make sure that your camera is not in Super Power Saving mode/Sleep mode/Privacy mode if your camera supports one of these features.
3. Ensure that your CloudPlay plan is active and in use. You can check the status of the service by going to camera Settings>CloudPlay. When the status is "Service paused", please check if the Recording button on the CloudPlay page is enabled. In order to check this, you will need to tap the three-dot-like icon in the top right corner of the CloudPlay page> Recording Setting.
4. If all the above settings are normal, please perform a test from your side to check whether the camera can be triggered normally or not. You may enable the Alarm Notification feature in camera Settings>Alarm Notification, then wave your hands in front of the camera lens until you can receive an alarm notification.
5. If you cannot receive an alarm notification when you perform the test, please reset your camera by pressing and holding the Reset button for a few seconds and reconfiguring it. This may help to resolve any problems.
Please follow the steps below:
1. Check the power source: Make sure the power outlet you're using is working properly. You can also try plugging the camera into a different outlet.
2. Check the power cable: Check that the power cable is not damaged or frayed. You can also try using a different power cable to see if this solves the problem.
3. Reset the camera: Try resetting the camera by pressing and holding the Reset button for about 10 seconds. This will usually restore the camera to its default settings and may help to resolve minor problems.
If the problem persists or if you encounter any further difficulties, please don't hesitate to reach out to EZVIZ customer support for additional assistance.
Regarding this, please try switching the network your phone connects to, for example, using phone data or if your router is dual band, using 5G Wi-Fi.
Meanwhile, kindly note that network connection may affect the streaming performance of your EZVIZ devices, thus we do suggest an average upload speed of 2 Mbps or better. To check the speed, you may stand by your EZVIZ device, connect your mobile phone to your Wi-Fi, and visit www.speedtest.net to test.
(For a 3MP device, we do suggest an average upload speed of 3 Mbps or better. If a 4MP device, we do suggest an average upload speed of 4 Mbps or better.)
If you are still experiencing live view issues in your Wi-Fi network, you may also try to change the channel settings for your router or remove some devices you seldom use from your router to ensure sufficient bandwidth.
If the APP prompts "Account username or password error" when you try to log into your account, below are some steps to resolve the issue for you:
Step 1. Please make sure your account information and region are correct.
Step 2. If correct, please ensure you input the correct account password and please be reminded that the password is case-sensitive.
Step 3. Alternatively, you may tap on “Forgot password" on the login page and follow the instructions on the APP to reset a new password and re-sign into your account.
If the issue persists after following the above steps and you need additional assistance, feel free to contact the support team by emailing support@ezviz.com
If you encounter a squealing sound when you are using the two-way talk feature, please kindly note that the squealing sound you hear is very likely a result of the audio feedback loop between the microphone of the camera and the speaker of your mobile phone, a normal acoustic phenomenon that occurs when a microphone picks up sound from a speaker while that speaker is playing sound from the microphone, thus creating a loop.
To avoid this, please ensure when you use two-way audio:
- there are no interfering objects around the camera such as metal objects, electrical appliances, electronic equipment, etc.
- there is no microphone or other radio equipment near the camera.
- your mobile phone is NOT too close to your EZVIZ device.
Otherwise, the audio feedback loop will create a high-pitched squealing sound.
Please kindly note that the device is programmed to timeout every few minutes if you are streaming through our VTDU servers. You can simply tap on the "Continue" button to continue streaming. Besides, if your device supports the LAN Live View feature, you can avoid this by putting your camera and your phone or PC under the same LAN (connecting to the same network), and then going to the More page (click the profile photo on the left top corner) > Settings > LAN Live View (for mobile phone) or Devices on LAN (for PC Studio). There you could view the camera continuously.
However, even when you are on the same network, you should ensure that the computer you are using is connected to the router using a cable, or if you are using a mobile phone or tablet, please ensure that you have Upnp enabled on your router.


How to enable Auto Tracking feature
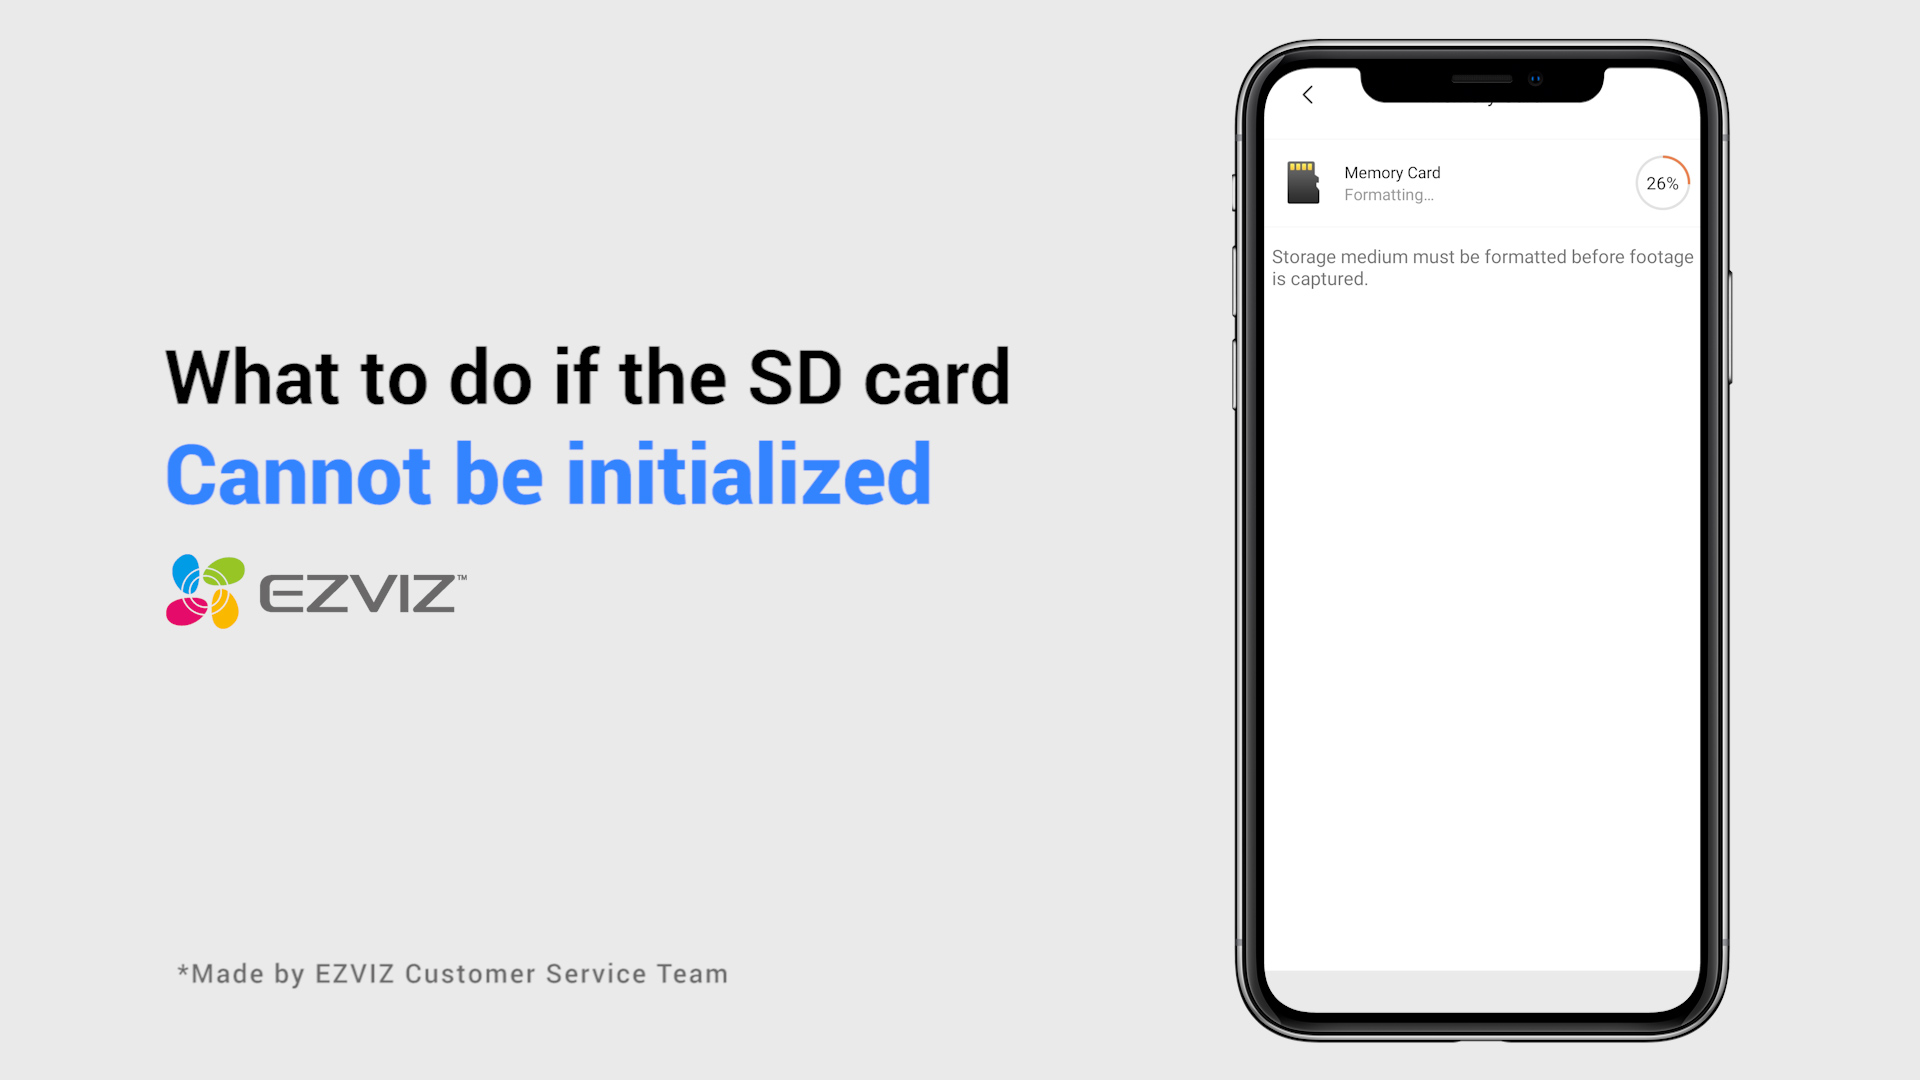
What to do if the SD card cannot be initialized

What should I do if the indicator light stays solid red

What should I do if my camera goes offline frequently

