 EZVIZ no longer supports Internet Explorer 10 or earlier versions, and the site may not behave as expected. Please upgrade to a newer browser.


 Store
Store
 FAQ
FAQ
 Tutorial Video
 Manuals
 Datasheet

 FAQ
FAQ
 Tutorial Video
 Manuals
 Datasheet
If you set up EZVIZ security cameras or smart entry devices to keep an eye on your home but are concerned about potential privacy issues with your neighbors, drawing a privacy area can help you exclude areas you don’t want to include in your field of view.
These areas will be excluded when you view live or recorded footage. You can create up to four privacy areas for each EZVIZ device in your possession. If you prefer not to capture audio, you can disable the audio feature, which will ensure that your videos are completely silent.
Create, edit, or delete Privacy Areas
To create, edit, or delete Privacy Areas, please follow the steps below in the EZVIZ app:
1. From Home Page, tap the three-dot icon next to the device’s name or SN to enter the “Device Settings” page.
2. Scroll down to find “Privacy Settings”. Then tap “Customize the privacy area” and enter it. For some specific models, you can find “Customize the privacy area” directly at the bottom after you enter the Device Settings page.
3. Tap “Add an area”. Then you can tap the area to move it and drag the bottom right corner to modify the size.
4. Then click “Save” on the top right corner to complete the settings.
5. To edit an area, tap the area you would like to edit, then you can move it or drag the bottom right corner to modify the size. Then click “Save” on the top right corner.
6. To delete an area, tap the area you would like to delete and click “Delete the area”. Then click Yes to complete the settings.
Notes for Privacy Areas
1. The Privacy Area is NOT supported by all EZVIZ devices. You may review the detailed description on the product details page or contact our support team for more information.
2. Once configured, the masked area will be shown in both live view and recordings.
3. If your device position moves, the privacy areas will change, potentially no longer covering the intended zones.
*Related Articles:
How to enable or disable device audio?
1. Make sure your camera is online and it has a stable and strong internet connection. Poor or intermittent connectivity can prevent recordings from being uploaded to the cloud and we do suggest an average upload speed of 2 Mbps or better.
2. Make sure that your camera is not in Super Power Saving mode/Sleep mode/Privacy mode if your camera supports one of these features.
3. Ensure that your CloudPlay plan is active and in use. You can check the status of the service by going to camera Settings>CloudPlay. When the status is "Service paused", please check if the Recording button on the CloudPlay page is enabled. In order to check this, you will need to tap the three-dot-like icon in the top right corner of the CloudPlay page> Recording Setting.
4. If all the above settings are normal, please perform a test from your side to check whether the camera can be triggered normally or not. You may enable the Alarm Notification feature in camera Settings>Alarm Notification, then wave your hands in front of the camera lens until you can receive an alarm notification.
5. If you cannot receive an alarm notification when you perform the test, please reset your camera by pressing and holding the Reset button for a few seconds and reconfiguring it. This may help to resolve any problems.
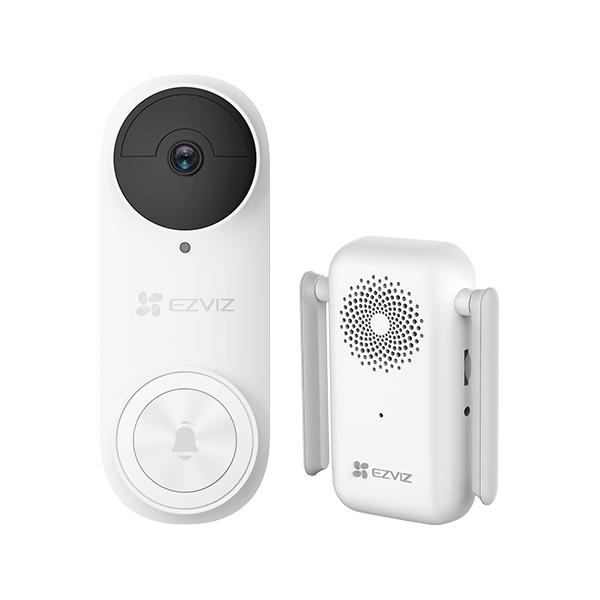

DB2 Doorbell Kit Tutorial Video
-
DB2 Doorbell Kit Tutorial Video
-
DB2 Unboxing Video
-
DB2 Unboxing Video

