 EZVIZ no longer supports Internet Explorer 10 or earlier versions, and the site may not behave as expected. Please upgrade to a newer browser.


 Store
Store

 FAQ
FAQ
 Tutorial Video
 Manuals
 Datasheet

 FAQ
FAQ
 Tutorial Video
 Manuals
 Datasheet
For data security and information protection, an encryption password would be required when accessing videos and live streaming. If an encryption password is required or it prompted an incorrect password, please check the following first:
1. If you have not changed the encryption password before:
The default password is the 6-digit capital letter device code, which is located on the white sticker of your camera or for verified terminals through which you set up the camera, you may find it in camera settings > Device information/About> Device QR Code > Verification Code:
- For models such as BC1 and HB3 kit, the default password is the 6-digit capital letter device code located at the white sticker of the base station.
- For models such as DB2 and DB2C kit, the default password is the 6-digit capital letter device code located at the white sticker of the chime.
- For models such as DB1, please remove the cover of the doorbell and scan the code with a third-party QR code scanner.
- If the camera is linked to an NVR/DVR and if it is initially set up by adding to NVR/DVR directly, the password will be the admin/login password of the NVR/DVR you created for the NVR/DVR during the initial setup.
- If this is a shared device from the main user, please get the correct encryption password under the owner's account by following the instructions above. Or you may ask the owner to share the device again and click “Authorize encryption password” as one of the permissions when sharing.
2. If you have changed the encryption password before:
- Please make sure the password you input is correct and there is no unnecessary blank space.
- If you forget the correct encryption password, you may tap Decrypt by email or SMS to retrieve it.
- Alternatively, you may reset your camera by holding the reset button and the password would be defaulted to the original device verification code. However, please be aware that even though the password can be reset to the original device code, you will still need the old encryption password that you previously set in order to access recordings saved with the old encryption password.
Before setting up, please make sure you have already inserted an SD card into your camera and your camera supports 24/7 recording. Please also make sure the SD card has been initialized on the EZVIZ APP before use.
For battery cameras that support Power Plugged-in mode, you can enable the all-day recording function by following the steps below: enter the Device Settings page, tap Working Mode, and select Power Plugged-in mode. Meanwhile, it is highly recommended to keep the camera plugged in while using this feature.
For other models, please open the EZVIZ APP, from the Home Page, tap the three-dot icon next to the camera's name to enter the Device Settings page, scroll down to find Storage Status or Record List, and enable the "All Day" button for the Memory card.
1. Make sure your camera is online and it has a stable and strong internet connection. Poor or intermittent connectivity can prevent recordings from being uploaded to the cloud and we do suggest an average upload speed of 2 Mbps or better.
2. Make sure that your camera is not in Super Power Saving mode/Sleep mode/Privacy mode if your camera supports one of these features.
3. Ensure that your CloudPlay plan is active and in use. You can check the status of the service by going to camera Settings>CloudPlay. When the status is "Service paused", please check if the Recording button on the CloudPlay page is enabled. In order to check this, you will need to tap the three-dot-like icon in the top right corner of the CloudPlay page> Recording Setting.
4. If all the above settings are normal, please perform a test from your side to check whether the camera can be triggered normally or not. You may enable the Alarm Notification feature in camera Settings>Alarm Notification, then wave your hands in front of the camera lens until you can receive an alarm notification.
5. If you cannot receive an alarm notification when you perform the test, please reset your camera by pressing and holding the Reset button for a few seconds and reconfiguring it. This may help to resolve any problems.
To better assist you, please provide the following information by contacting EZVIZ at rma.glb@ezviz.com:
1. the 9-digit SN of your EZVIZ camera
2. the email address you used to subscribe to CloudPlay
3. the payment for which you are requesting an invoice
4. if the invoice is requested for your company, please provide us with the company information as well.
Please note that if your CloudPlay service is still in the free trial period, you will need to contact us with the above information when you actually pay for the subscription after the free trial period ends.
If your camera goes offline frequently, below are some troubleshooting steps to resolve the issue for you:
Step 1: Ensure both the firmware and EZVIZ app are running on the latest version.
Step 2: Ensure that your Wi-Fi network signal is good. You can check the signal by connecting your phone to the same WiFi your camera connects to, entering More page > Settings > Device Network Tools > Check WiFi signal.
Step 3: If not good, you can try to move the camera closer to your router, avoid obstacles and interference such as wall, elevator, microwave, washing machines, and Bluetooth devices.
Step 4: If your WiFi router has an adjustable antenna, try pointing it in various directions.
Step 5: Try to change the Wi-Fi channel to a less crowded one.
Step 6: If possible, disconnect some devices you seldom use from your router.
Step 7: If your camera supports Ethernet cable, you can also try to connect it using a cable.
Step 8: If you have two EZVIZ devices and the other one is working fine, you can also try to switch the locations to further determine the issue.
Please follow the steps below:
1. Log in to your EZVIZ account.
2. On the Home page, click the 3-dot icon next to the name of your camera to enter the Device Settings page.
3. Turn on the Alarm Notification button, then you will be able to receive the messages when motion detection is triggered.
4. For some other models, you need to enter Notification on the Settings page, enable Receive Device Message and EZVIZ App Notification.
It is estimated that for a 1080P EZVIZ security camera, a 16GB Micro SD card will provide approximately 28-32 days of recording under normal use, which is about 1 hour of motion event recordings a day. Recording time for 720p cameras will be longer.
Here is the estimated number of required spaces for your reference. Please note that the actual space taken up may vary depending on the operating environment and other factors.
| EZVIZ Model | Max. required space for one-day recording(GB) | Min. recording time per capacity of SD Card(days) | |||
| 16G | 32G | 64G | 128G | ||
| DP1,DP1C | 7.5 | 2.1 | 4.3 | 8.5 | 17.1 |
BC1,BC1C,BC2 C1C-720P,C1T-1080P DB1C,DP2,DP2C | 10.7 | 1.5 | 3 | 6 | 12 |
BC1-4MP,BC1C-4MP,HB8 C1C-1080P,C1C-B,C1HC H.265,C2C H.265 C3N,C3TN-2MP,C3TN-Color,C3W Pro-2MP,C3X C6N-1080P,TY1-1080P,TY2-1080P,C8C,C8C-LITE DB1 Pro,DB2,DB2 Pro,LC1C | 21.4 | 0.7 | 1.5 | 3 | 6 |
C3TN-3MP (OutPro),H3 C6N-3MP,CP1-3MP,C8W PRO-2K | 32.1 | 0.5 | 1 | 2 | 4 |
C3W Pro-4MP C6,C6N-4MP,C6W-4MP,CP1-4MP,TY1-4MP C8PF,C8W-4MP,LC3 | 42.8 | 0.4 | 0.7 | 1.5 | 3 |
| C8W PRO-3K | 53.5 | 0.3 | 0.6 | 1.2 | 2.4 |
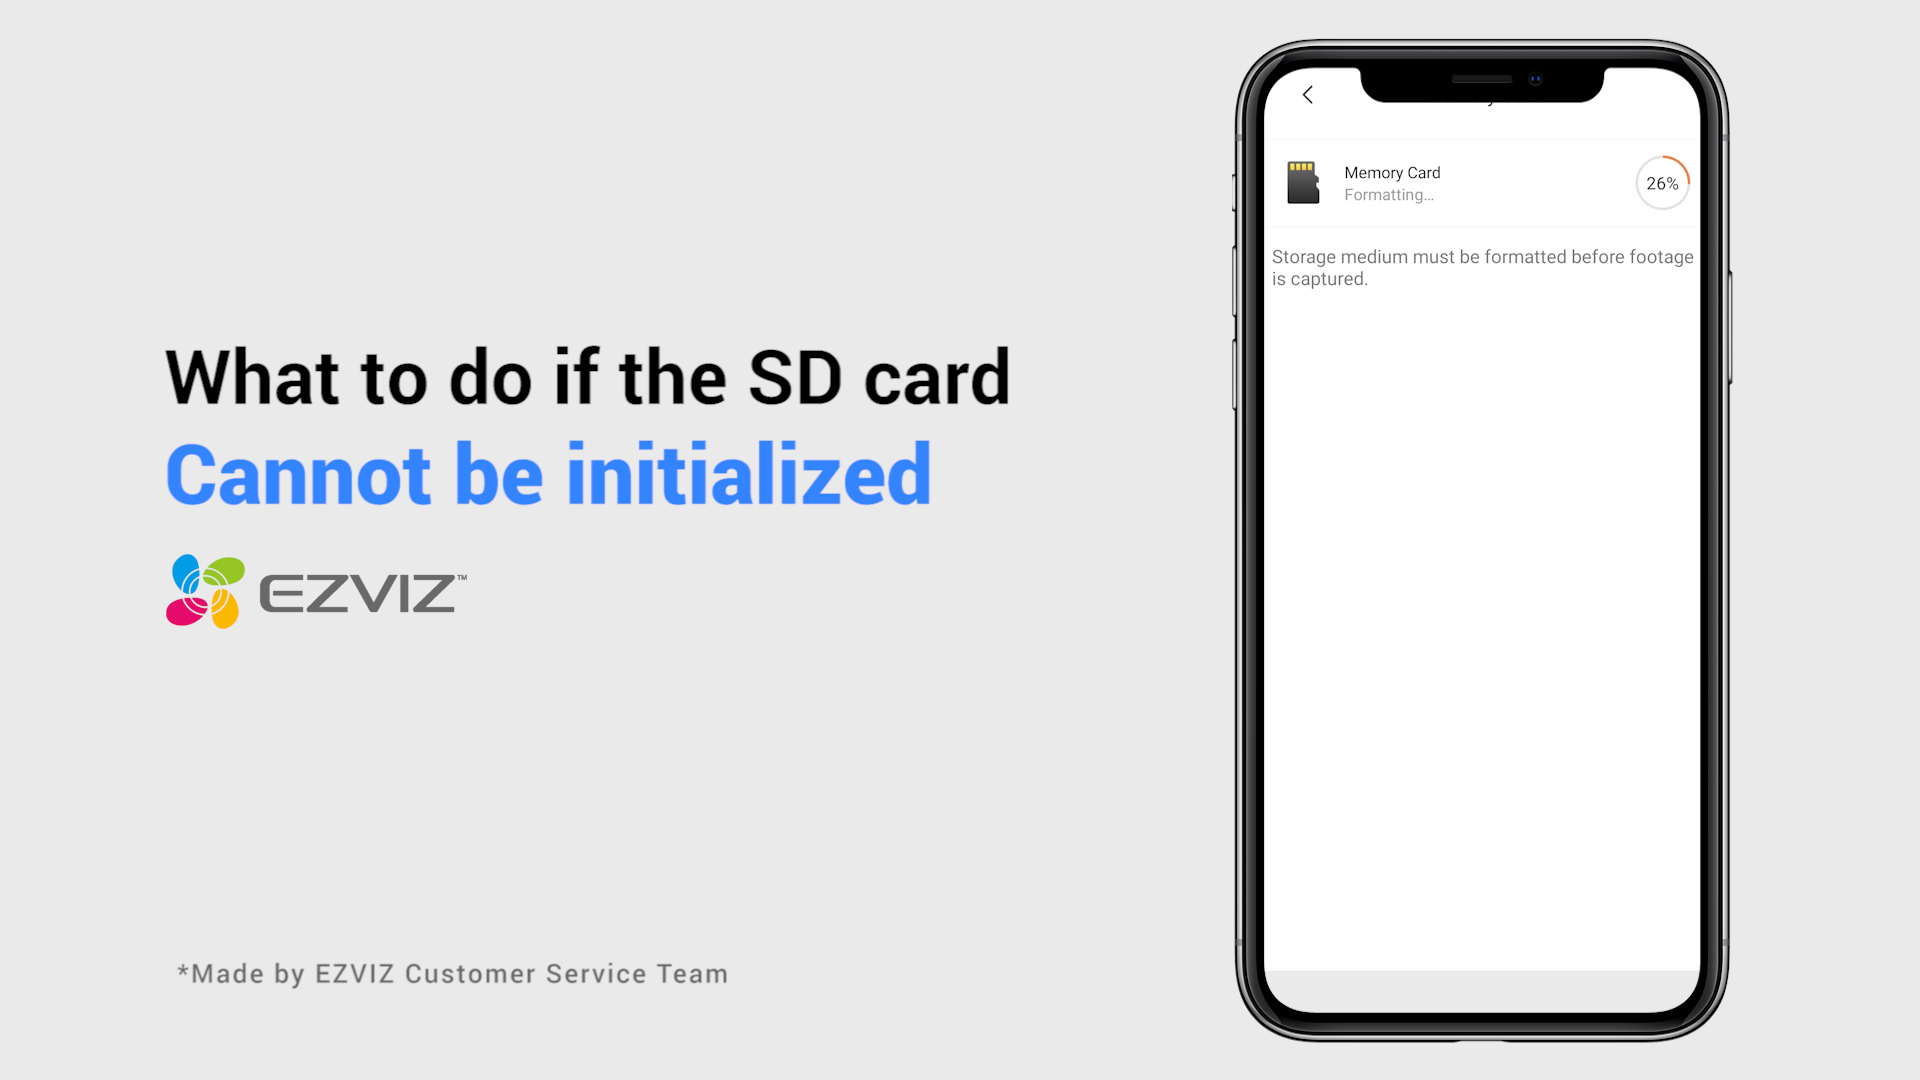
If you have already installed an SD card in your camera, but the status on the EZVIZ APP shows "No memory card" or "Please insert an SD card", below are some troubleshooting steps to resolve the issue for you:
Step 1: Ensure both the firmware of your camera and the EZVIZ APP are running on the latest version.
Step 2: Ensure the SD card is class 10 or rated at UHS-1. The file format of the SD card should be FAT32 for capacities below 64GB and exFAT for capacities of 64GB and above.
We do recommend you check the compatible list on our website.
Step 3: Power off your camera, remove and reinsert the SD card, power the camera on, and then initialize the card again on the EZVIZ APP if the SD card can be recognized. Meanwhile, please make sure that the card has been installed correctly and is not defective or damaged.
*Before initialization, do remember to backup important files by saving or exporting them if necessary.
Step 4: If not working, try to factory reset your camera by holding the Reset button. This will turn the device to the default factory settings and might help resolve minor issues.
Step 5: To further rule out the SD card issue, you may try to test with a different SD card or install the card in question on another EZVIZ device.
Please kindly note that the device is programmed to timeout every few minutes if you are streaming through our VTDU servers. You can simply tap on the "Continue" button to continue streaming. Besides, if your device supports the LAN Live View feature, you can avoid this by putting your camera and your phone or PC under the same LAN (connecting to the same network), and then going to the More page (click the profile photo on the left top corner) > Settings > LAN Live View (for mobile phone) or Devices on LAN (for PC Studio). There you could view the camera continuously.
However, even when you are on the same network, you should ensure that the computer you are using is connected to the router using a cable, or if you are using a mobile phone or tablet, please ensure that you have Upnp enabled on your router.


How to change the encryption password
What to do if the SD card cannot be initialized

What should I do if the camera fails to configure the network

