 FAQ
FAQ
 Datasheet
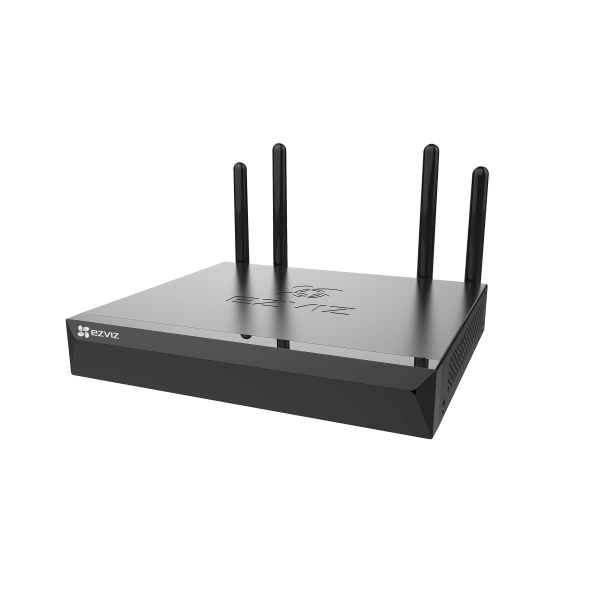
For NVR models such as X5C, X5S-4W, X5S-8W, X5S-16L2, and X5S-16H, if your cameras cannot be linked in the Camera Management page on the monitor (Right Click > Menu > Camera > Camera), please follow the steps below:
If the cameras are connected to the router directly:
1. ensure the camera you tried to connect to is under the same LAN as the NVR.
2. ensure the camera is close to the NVR and there is no barrier such as a wall between them when connecting.
If the cameras are connected to the NVR’s Wi-Fi:
1. ensure the camera is close to the NVR and there is no barrier such as a wall between them when connecting.
2. ensure the camera is in configuration mode.
Please follow the below steps to add your device:
1. Please ensure your NVR is online.
2. Then scan the QR code on the white sticker at the bottom of the NVR box and you should be able to add your device.
If prompted for a password during adding, please kindly note that the password would be the verification code that you could find on the white sticker of the NVR box.
If prompted for an encryption password when viewing a camera, please kindly note that the password would either be the login password you created for the NVR during the initial setup (if your cameras are set up by adding to NVR directly) or the verification code you could find on the white sticker of each camera you have (if your cameras are set up via EZVIZ app).
To reset the admin password, you may reset the NVR box by pressing the reset button (the password would be defaulted to the original device verification code on the label) or follow the below steps:
- Double right-click your mouse at the left bottom corner of the login window.
- Click on “OK” when the prompt “Restore Default Password” pops up.
- And then the password would be defaulted to the verification code(6 capital letters) which you could locate on the white sticker of your NVR.


If you are using a wired connection, please follow as below:
1.Connect the LAN interface of NVR to that of router using Ethernet cable
2.Connect the camera to the same router or NVR’s WiFi
3.Power on the NVR and connect it to a local monitor using VGA or HDMI cable
4.Follow the wizard on the local monitor, create a new device password and complete the setup
5.Make sure “Wired Internet Mode” is selected in Configuration - Network - General - Selection of Network Mode
6.Go to “Menu” >> “Camera” >> “Search” >> “Add” to link the cameras
7.Log into the EZVIZ app > click on the “plus” tab to add a device >> scan the QR code shown on the screen or the device label
If you are using a 5GHz WiFi connection, please follow as below:
1.Connect the camera to the same router or NVR’s WiFi
2.Power on the NVR and connect it to a local monitor using VGA or HDMI cable
3.Follow the wizard on the local monitor, create a new device password and complete the setup
4.Make sure “5G Uplink Mode” is selected in Configuration - Network - General - Selection of Network Mode
5.Go to “Menu” >> “Camera” >> “Search” >> “Add” to link the cameras
6.Log into the EZVIZ app > click on the “plus” tab to add a device >> scan the QR code shown on the screen or the device label


 Store
Store

 FAQ
FAQ
 Datasheet