 EZVIZ no longer supports Internet Explorer 10 or earlier versions, and the site may not behave as expected. Please upgrade to a newer browser.
1. 在您的Windows PC 上安裝 EZVIZ Studio 並確保您的 EZVIZ 設備和 PC 在同一 LAN 上。
2. 安裝完成後,您需要先登錄您的 EZVIZ 帳戶。
3. 然後前往您 PC 上的 Ezviz Studio 的根目錄並找到名為“config”的資料夾。
4. 將名為“AppConfig.ini”的文件從“config”資料夾複製到您的桌面上。然後在桌面上打開“AppConfig.ini”,您將看到以下命令。
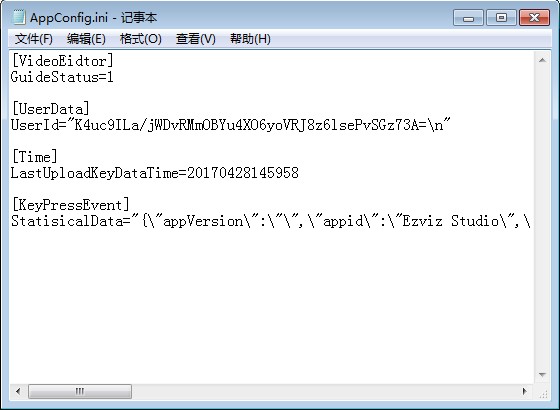
5. 在“AppConfig.ini”中添加以下命令,並在退出之前點擊“保存”:
[LocalOperation]
Show=1
6. 將您桌面上的“AppConfig.ini”文件複製到“config”資料夾中並覆蓋舊文件。
7. 刷新 Ezviz Studio 中的設備頁面或重新打開 Studio,然後您將看到“高級”選項。
8. 如果您想隱藏“高級”設置,請將命令“Show=1”更改為“Show=0”,然後重新打開 EZVIZ Studio。


 Store
Store